
Air fryers have become indispensable kitchen appliances, offering a healthier alternative to traditional frying methods. However, to ensure they continue to deliver delicious and crispy results, regular cleaning is essential. In this guide, we’ll walk you through the step-by-step process of how to clean an air fryer, ensuring it stays in optimal condition for years to come.
If you are new to the blog, welcome! I blog about cleaning, decluttering, and organizing. You can find my free printables to help you get organized in the drop down menu under the Printables category. Today, we will cover how to clean an air fryer.
You can read more about bad cleaning habits you should avoid here.

How to Clean an Air Fryer
Step 1: Safety First
Before you learn how to clean an air fryer, it’s crucial to unplug it and allow it to cool completely. This not only ensures your safety but also prevents any potential damage to the appliance.
Step 2: Disassembly
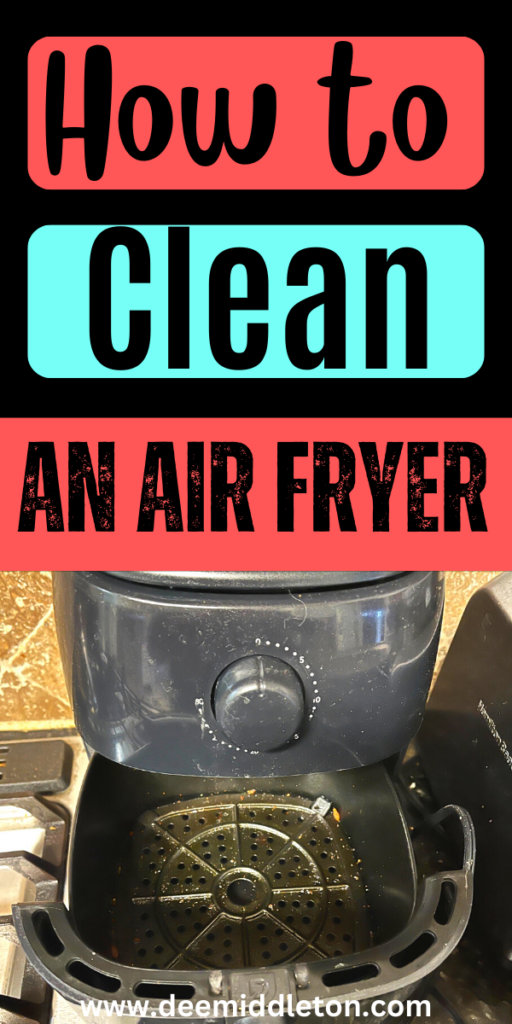
The next step for how to clean an air fryer is to separate the parts. Most air fryers consist of several removable parts, such as the basket, tray, and sometimes a removable inner pan. Carefully disassemble these components and set them aside for cleaning. Refer to your appliance’s manual for specific instructions on how to dismantle each part.
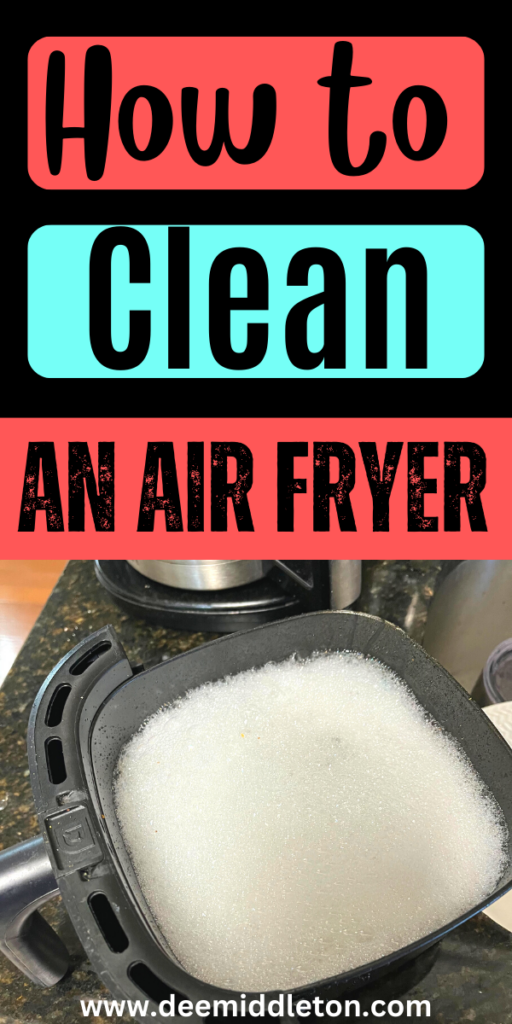
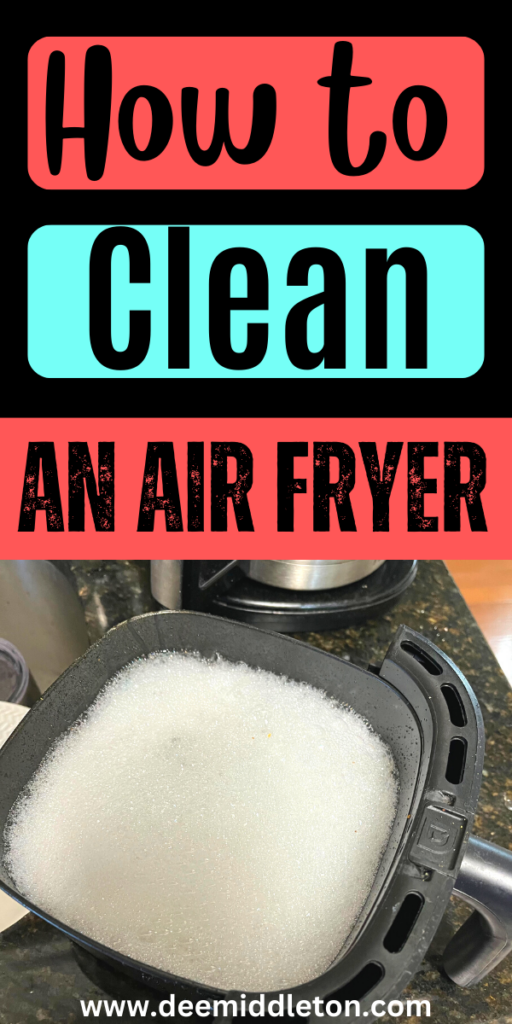
Step 3: Soak Removable Parts
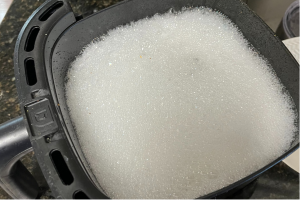
To make the cleaning process more manageable, soak the removable parts in warm, soapy water. This helps to loosen any stuck-on food particles and grease. Let them soak for about 10-15 minutes, or longer if needed.
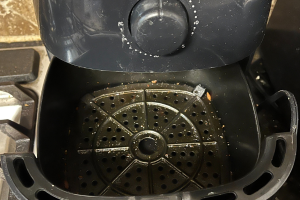
Step 4: Wipe Down the Interior
While the removable parts are soaking, use a damp cloth or sponge to wipe down the interior of the air fryer. Be gentle to avoid damaging the heating element and other sensitive components. If there are stubborn stains or residue, a mixture of water and a mild dish soap can be used.
Step 5: Clean the Heating Element
Use a soft brush or a toothbrush to clean the heating element and any other hard-to-reach areas. Ensure that the brush is dry and free of moisture before doing so. A dry brush will help prevent any electrical damage to the air fryer.
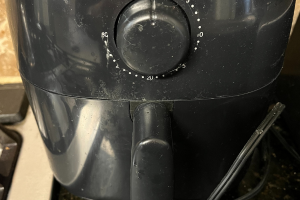
Step 6: Clean the Exterior
Wipe down the exterior of the air fryer with a damp cloth. If there are stubborn stains, a mixture of water and vinegar can be effective. Avoid using abrasive materials that may scratch the surface.
Step 7: Dry and Reassemble
Thoroughly dry all the components that were soaked in water before reassembling the air fryer. Ensure that each part is completely dry to prevent mold growth or damage to the appliance.
Step 8: Regular Maintenance
To keep your air fryer in top condition, establish a regular cleaning routine. Aim to clean it after every few uses, or at least once a week for frequent users. This will not only maintain the appliance’s performance but also contribute to its longevity.
Cleaning your air fryer doesn’t have to be a daunting task. By following these simple steps, you can ensure that your appliance remains in pristine condition, ready to whip up delicious and healthy meals whenever you need it. Regular maintenance not only guarantees optimal performance but also extends the lifespan of your air fryer, making it a valuable and long-lasting addition to your kitchen arsenal.
Recent Comments